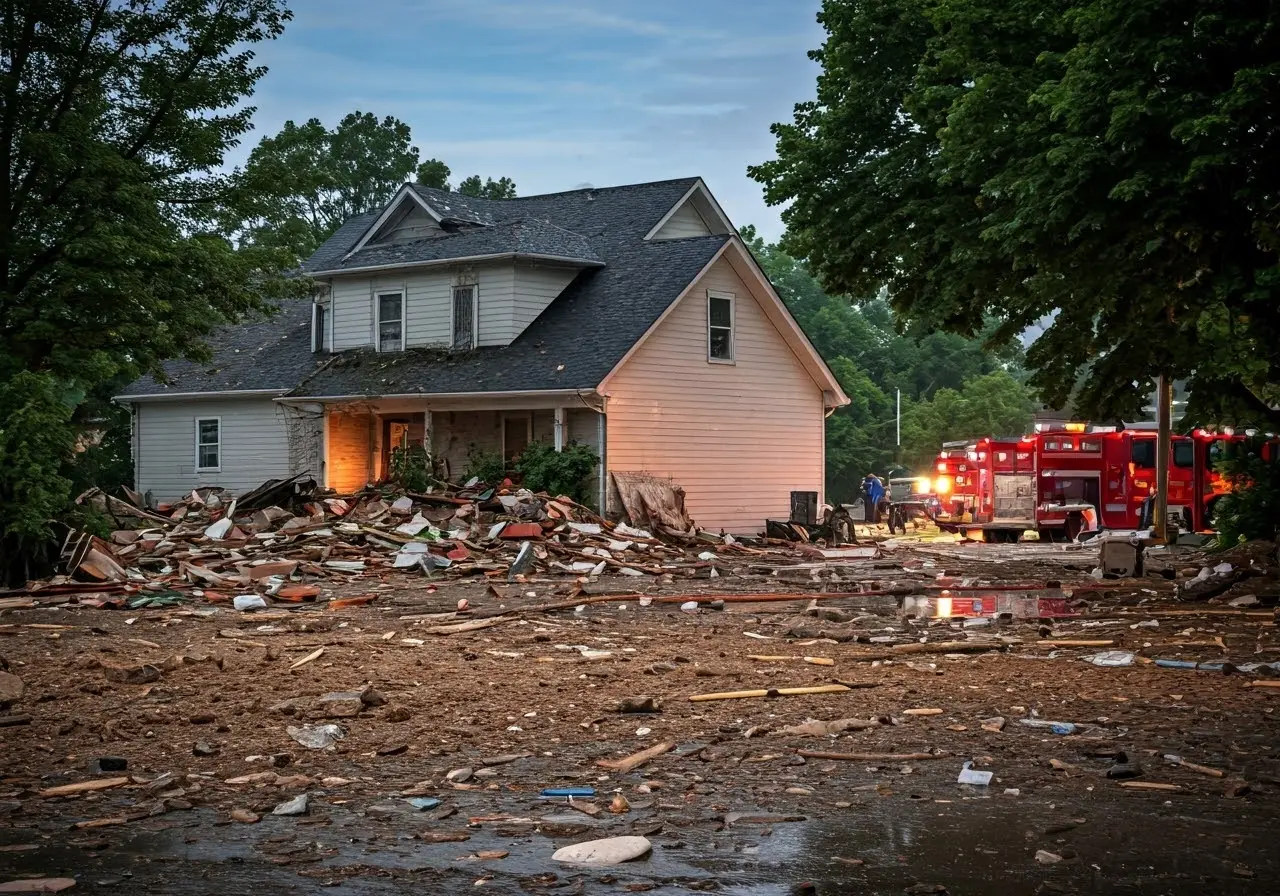
In the aftermath of a disaster, accessing assistance can feel overwhelming. The Federal Emergency Management Agency (FEMA) offers resources to help you rebuild and recover. This guide will walk you through the essential steps to access FEMA assistance, making the process as smooth and stress-free as possible.
1. Understanding FEMA Assistance
Before diving into the steps, it’s crucial to understand what FEMA assistance encompasses. FEMA provides financial aid for temporary housing, home repairs, and other disaster-related expenses not covered by insurance.
FEMA assistance isn’t a replacement for insurance but rather a supplementary help for those in need. This can include basic needs like medical and dental expenses, essential household items, and even vehicle repairs. Knowing this can help you better prepare and manage your expectations throughout the application process.
Another key point is that FEMA assistance isn’t just for homeowners. Renters and business owners can also apply for aid. If you’re a renter, you might be eligible for grants to cover temporary housing and essential personal property losses. Business owners may benefit from low-interest disaster loans through the Small Business Administration (SBA), which works in conjunction with FEMA.
2. Assess Your Situation
Begin by evaluating the extent of the damage to your property and your immediate needs. This will help you determine what type of assistance you may qualify for.
Make a comprehensive list of damages, both structural and personal. Include everything from major issues like roof damage to smaller, yet essential, items like clothing and school supplies for children. Doing a thorough evaluation upfront can save you time and make the application process smoother.
3. Register with FEMA
The first step in accessing FEMA assistance is to register. You can do this online, by phone, or through the FEMA mobile app. Ensure you provide accurate and complete information.
When registering, have all your essential information at hand—home address, social security number, a list of damages, and an insurance policy number if you have one. Missing or incorrect information can delay your application.
Don’t forget to write down your FEMA registration number. This will be your reference for all future communication with FEMA and is vital for checking your application’s status and updates.
4. Document the Damage
Take photos and videos of the damage to your property. Detailed documentation will be invaluable when filing your claim and later when FEMA conducts inspections.
Make sure your documentation is thorough. Capture different angles and ensure you are covering all affected areas, both inside and outside your property. Consider adding a date stamp to your photos for additional verification.
Organize your photos and videos in a way that tells a comprehensive story of the damage. This will make it easier for both you and the FEMA inspectors to understand the extent of the impact and speed up the evaluation process.
5. Prepare Necessary Documentation
Gather important documents such as identification, proof of ownership, insurance policies, and any receipts related to disaster expenses. Having these ready speeds up the application process.
Organize all your documents in a secure folder that is easy to access. This should include copies of personal identification, utility bills, lease or mortgage agreements, medical bills if applicable, and any proof of income. The more organized you are, the smoother the process will be.
6. Complete the Application
Fill out the FEMA application form fully and accurately. Double-check all information to avoid processing delays. If you need help, FEMA representatives are available to assist.
Don’t rush through the application. Take your time to ensure all details are correct. Any errors or omissions can lead to delays or even denials. If something is unclear, don’t hesitate to seek clarification from FEMA representatives.
7. Schedule a FEMA Inspection
After submitting your application, a FEMA inspector will contact you to schedule an inspection. Be ready to show them all damage and provide any additional information they may require.
Inspections are vital for confirming the extent of damage and your eligibility for assistance. Make sure you are available at the scheduled time and that your property is accessible. If certain areas are too damaged to enter, let the inspector know in advance.
During the inspection, be as detailed as possible. Walk the inspector through each area of damage and explain the impact on your daily life. The more information you provide, the better.
8. Review Your FEMA Assistance Offer
Once FEMA reviews your application and conducts the inspection, they will send you an assistance offer. Carefully review the offer to understand what is being covered.
Take your time to read over the offer thoroughly. Make sure you understand the terms, the amounts, and what is included or excluded. If something is unclear, contact FEMA immediately for clarification.
9. Appeal If Necessary
If you disagree with FEMA’s decision or the assistance amount, you have the right to appeal. Provide additional documentation and a clear explanation of why you believe the decision should be reconsidered.
The appeal process is your opportunity to ensure you receive the assistance you deserve. Gather any supporting documents that can strengthen your case, such as additional photos, contractor estimates, or updated repair costs.
10. Stay Informed
Keep track of all communications and updates from FEMA. Staying informed about deadlines and additional resources can make the recovery process more manageable.
Set reminders for important deadlines to ensure you don’t miss any critical steps in the process. Regularly check the status of your application and any new messages from FEMA. Staying proactive helps avoid unnecessary delays.
Don’t forget to reach out to community resources and local agencies that might offer additional support. FEMA assistance is one part of recovery, and other organizations can offer valuable help too.

